Showing posts with label home improvement. Show all posts

Saturday, December 13, 2014

Bathroom Redo Almost done!

Its been forever. I quit the gym and pretty much my social life in order to DYI remodeling my downstairs bathroom.
We took out the shower back in May
 
 
Loooooook at where the water got in the wall (again).


What started as a "we will just fix the shower" turned into an entire bathroom remodel. A pop in cabneit was here but it was too close to our washer and dryer that were to the right of my plubming shot here. Oh and done get me started on the plumbing and eleterical and the WALLS!

Lets just say this entire room was a mess. I tried fixing the wall, we ended up moving this whole wall section!
 See the heater on teh bottom right?
yeah see how its flush with the drywall?
Its not supposed to be, its supposed to mount to the drywall.

Then took a nice long 8 weeks to pick a new shower out. Ends up we have a pretty odd space with a "neo angle" entrance. But finally we found what we liked at menards. However, they suck, and i will never do business with them again.


So this is just a teaser! :) Expect a full fledge bathroom reno review in the coming weeks!

I just wanna give a shout out to one of my favorite bloggers Em, from Beauty and the Greek who is expecting! And wishing her and her Greek all the best!!

Friday, September 19, 2014

Free Hutch Make Over

We found this beauty on the side of the road, next to a vacant house.

And we took it! It was VERY beat up. Broken selves, drawers and hinges! The hinges were the toughest part to figure out. 
This became my 'fun project' as other things on the house slowed or i got stuck, i got to work on this gem and get my first REAL experience with trying to make something look old.

But first the HORRID varnish had to go. We spent a few hours here and there for about 2 months sanding. like i said this was just a fun project, no goals!

We decide this would go in our kitchen (which is a post for another day with money we don't have). So White was the ultimate goal. We love/use Benjamin Moore paints. Our white is White Wisp. And it nice and dull and subtle. After apartment life the last thing we wanted was any GLOWING whites in our home.

So i did some PINTEREST research. You can catch my various pins over here on my pinterest boards. I was pretty worried about staining anything. 20/20 hindsight my friends. So i took some extra paint and did layers. Then the white as the final color and sanded back down to the colors. Now i think it came out ok, but it was WAY more work than it should have been to sand down to the color.

Also BM paints are amazing so the bonded together... and i could not get most of the brown look i wanted. But oh well! Fun project, remember. The method of multi paint layers and sanding involves one major thing. LOTS OF SANDING! 

But our fun project came long! It already houses a bunch of "pantry" like stuff for us. I love the hard ware too. Its all the same except the hinges. It really needs new drawer slides, but i think thats going to be a project for another day :) 

And yes that is our shot glass collection across the top. We like it. It serves us very well right now. PLUS it was FREE! I had to buy one small can of brown paint, and sand paper, and a new piece of ply for the shelves inside. Which i can always add more. This thing is HEAVY solid wood, it was a great find, and it was (mostly) fun to do!! Experience, knowledge... 

SCIENCE.! TECHNOLOGY!


Wednesday, May 14, 2014

Pink Room Makeover

The Pink Room.
Whats crazy is when we first looked at this house the room was WAAAAY more pink.
I know, how is that possible???


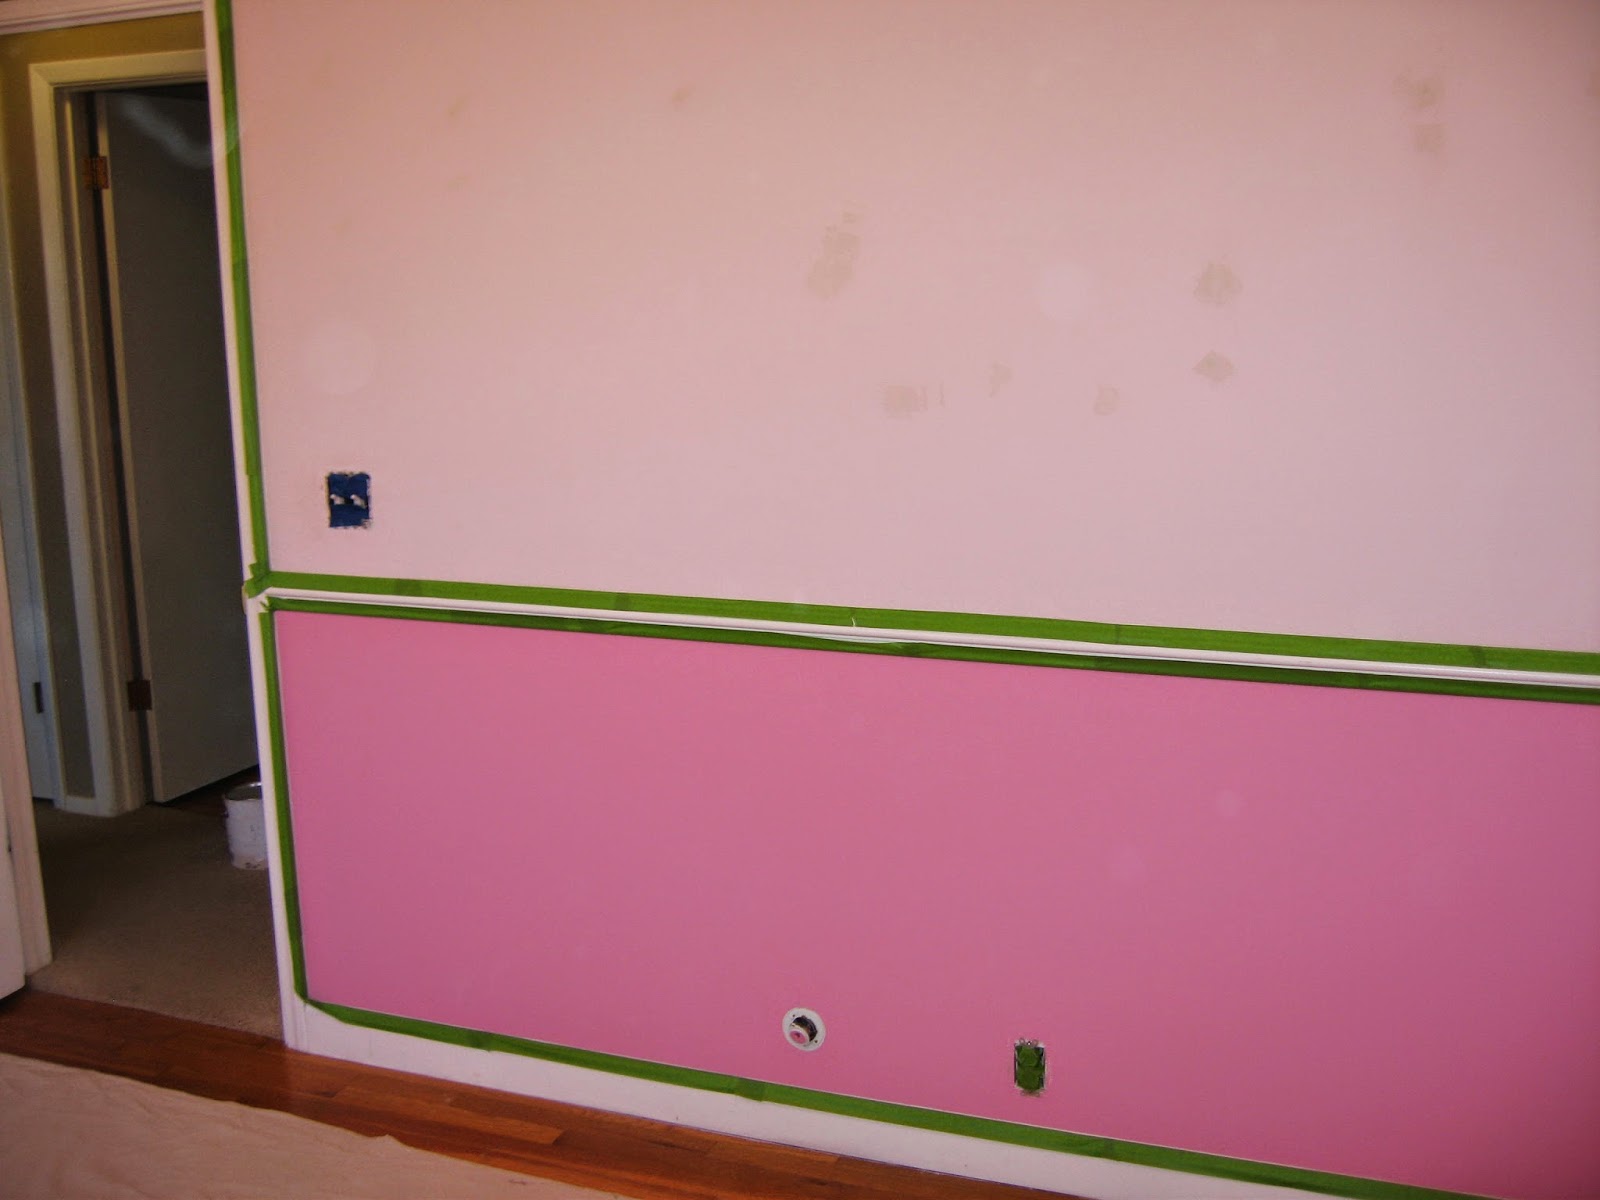
SOOOO PINK! I already had the outlets and lights out at this point and T-Dubs had taped for me.

WHO PAINTS A CEILING PINK!!?!?!? same color as the walls

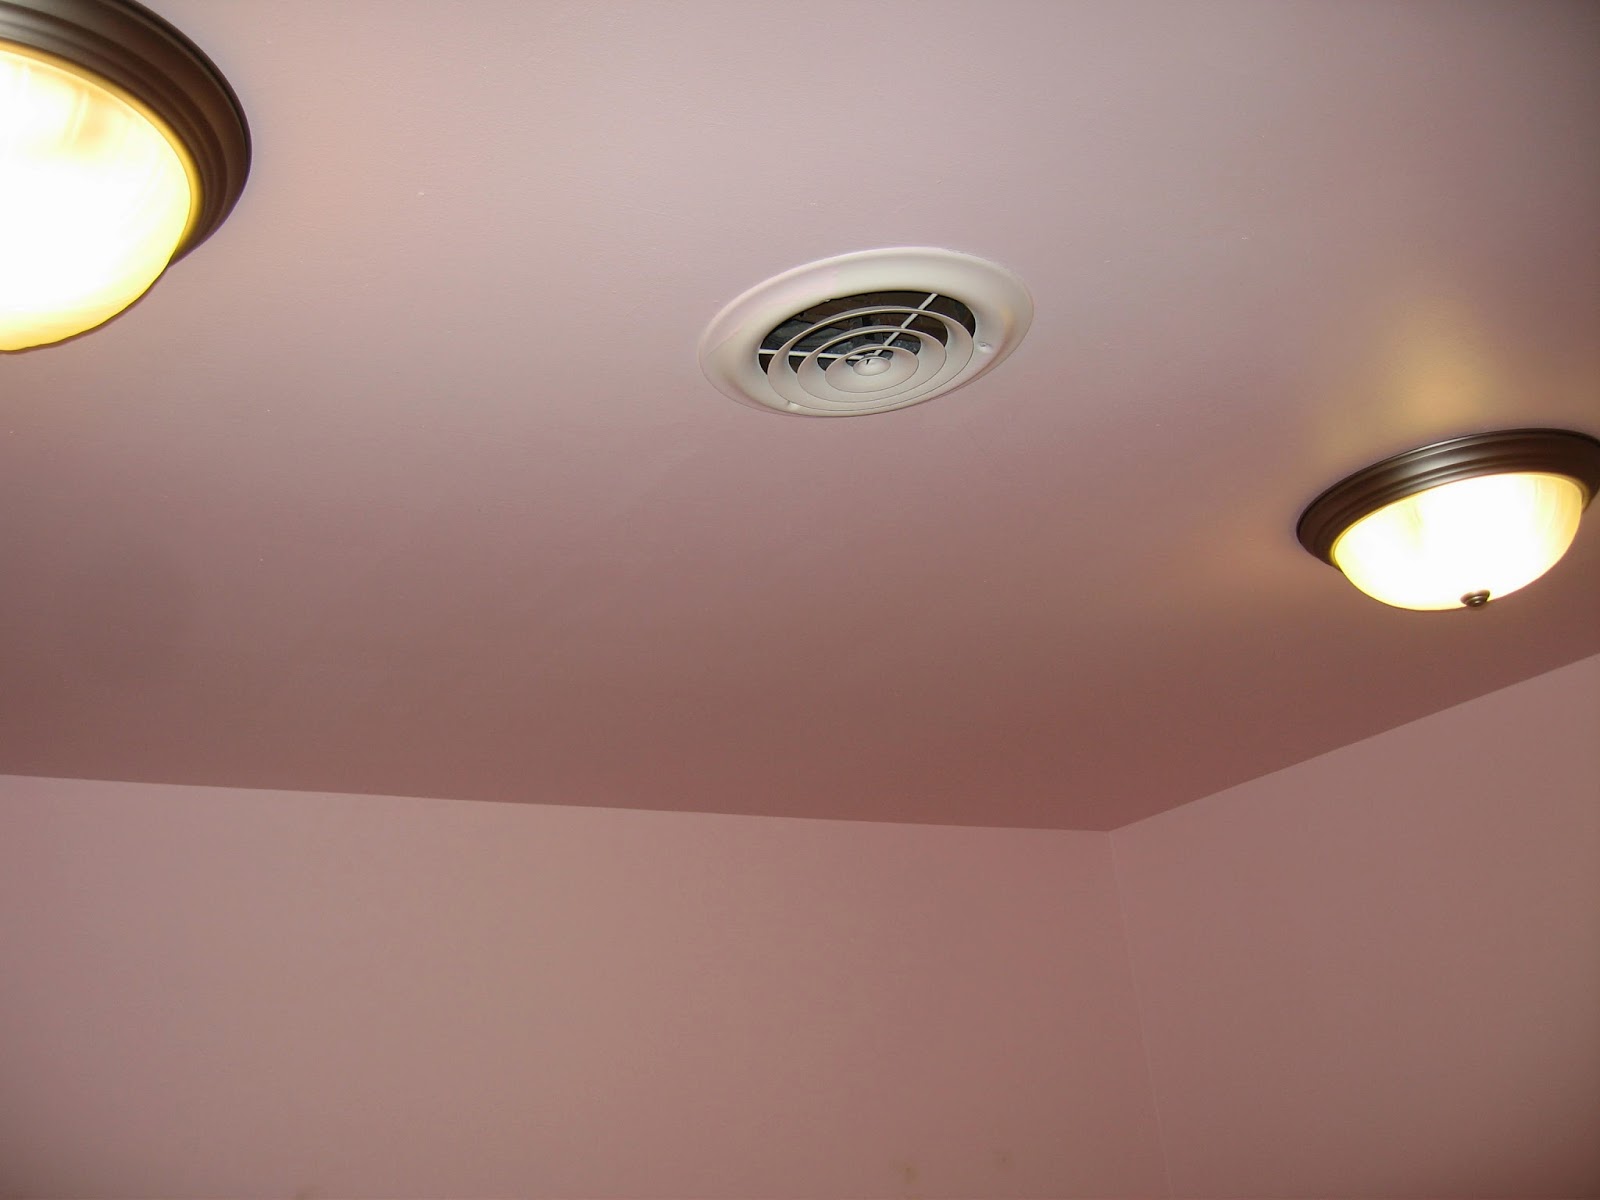
And this lovely air exchanging grate over the door? I mean really! found out when i sanded it and painted it that it had been painted several times so they were prolly just trying to make the best of a bad situation. oh and i couldnt find one the same size at the store...of course. i just rustoleumed the old grate.

I went through 3+ gallons of primer in this room, and the next room i do, I will go ahead and buy a 5 gallon bucket.
This is the 3rd coat on the left and the 4th coat going on the right. Since we ended up with a dark color, i probably could have gotten away with 3 coats, but i was so focused on getting rid of all the PINK!

Soooo much primer...

I didn't like how our overall light grey (that will go everywhere) turned out in the first room SEE HERE 
So i started testing all kinds of colors.

After a week of those sheninagans, I just said screw it and painted it the same grey we had already picked out! 
The grey on the bottom looks blue in my photos but its really a very dark grey color.


And for the best part! Comparison Photos. i apologize if they arent at the same angle.


Who paints grates and phone jacks?? Jeesh!
The ceiling was just primed white, and i was on board with that. I had to rustoleum the air duct too...paint just randomly pink on parts of it. fun times.


I actually really like the grey in here.
So now im ok with my BM Cement Gray (top half) and i think it might be the light blubs in that other room.
AHHHHH a finished product. Took me 4 weekends Plus a weekend of 7 or so grey testers.
HAPPY PINK ROOM TURNED GUEST BEDROOM!!!


Tuesday, April 29, 2014

Blue room make over

We have this room, that was BRIGHT blue and greet with chair molding.
Hence, "Blue Room"
We also have a "Pink room", that's next on my to-do list.
And a "Puke Room" - because it looks like puke. I'll have to get my professional photographer husband to take a pic of it to do the awful color justice.

Blue Room blogger fail. Not nearly enough before pics!
The colors are dull because of my iPhone but the green GLOWED!
We choose Bejamin Moore Fiji *blue and Cement Gray - which i now hate.

Once we primed it we decided we really wanted center lights. 
Before this track lighting was along the wall

See that square whole in the background? Up near the ceiling?
That's where the track lighting was. Pic Fail, I know sorry.

But installing new electrical can be a bEtch! Thankfully t-dubs did all the wiring up in the attic, I only thought he was gonna panic and come through the ceiling once! 

The series of pics do not do this justice, he was miserable, and had terrible insulation rash after! He had to deal with being claustrophobic and arachnophobia! He's the man! 

So then we had to do new electrical - which trying to do new on top of super old = never easy! 
Pro Tip: camping headlamps are a life saver when doing electrical in your home.
And I had to patch the wall where the track lighting was.

And now the finished project. doors will get updated later.....ewww gross glossy yellow, barf!

This took us about 4 weekends between primer, paint, doing ALL the electrical, and putting the room back together!

We learned lots, so that's always good.
But I am not a fan of the gray. It's too light and I want it to pop a bit, against the white trim. 
I won't repaint this room....
Or maybe ill just keep this gray and find a new throughout color. 


What's your favorite gray? Did you buy a tester first? I didn't! I need a new gray! Help!

Thursday, March 27, 2014

Finally the shower remodel post

This took me way too long to do. But its finally here, the SHOWER REMODEL

Started in August after we couldn't stop the shower walls from leaking! Ended in February.
When we looked at this house i could stick my hand up behind a couple of tiles.
I thought for sure it would show up on the inspection and then we could ask for a credit, nope they siliconed new tiles on in its place. 
When the shower started leaking into our room downstairs, i figured out that the water was leaking in through the shower walls, it was not fun.

ewwwwww is all i can say, this was after i cleaned it, and it was still gross. 

We started to take out the tile...
the back wall was soooo DAMP it came out like silly putty..

MOLD, ROT, GROSS!
Here i know you want a close up.
That's a hole in the bottom picture, under the faucet. a hole. (s)

SNEAK PEAK AT THE END PRODUCT!

Oh yes there was mold behind the dry wall! Nasty.
We put up new plastic, tar paper (roofing paper) and cement board.

Thankfully we have a wonderful retired neighbor that found out we were doing this all alone and offered to help, and bring all his tools we were too cheap to buy.
I didnt get to lay much tile, i was the tile cutter, we scored and used a wet saw.
T-Dubs did an excellent job, and we were beat as we did this in two LONG days.

I did however do the grout, and T-Dubs was the grout cleaner.

And what you are really here for....BEFORE AND AFTERS!

Yes we picked white tile and if i had to do it over i wouldnt have.
When we picked out tile, we didnt know we'd have any help and we wanted the simplest most straight forward way to do everything. I will NEVER do a tile job without a wet saw, it makes all the difference.
I also love my corner shower caddy.

I sprayed most of the hardware, ORB, however i'd like to buy a nice shower head.
THOSE things cost $$$$$! that i dont have right now.
This probably drives me the most crazy of all the things. It makes my blood pressure rise, i swear.
I'm OCD. I'll save my pennies and get a "real" one soon enough. 

All in all, if i ever do a shower again, i will own all the tools for the job. 
We could have saved so much time and patience if we had THE RIGHT TOOL FOR THE JOB. 
We ran into all kinds of problems. 
But we got through it. 
And we are super grateful for the learning experience and help from a friend!
Top Left I needed more studs in the corners after we put up cement board.
Top Right When someone else helps you, corners get cut, or not cut enough. 
Bottom Left Mistakes i didnt know i was making, should have cut down the middle of the stud.
Bottom Right And this is why there was a hole behind the faucet, there is NO support behind the faucet and the water control, so i engineered this weird set up behind it. My drill quit (i returned it) and it was all round pretty much awful to do. BUT my wall is much more stable that it was.

And thats all she wrote!